Create your own «Rediced» D20
3D Printing is Fun, but It Can Also Create Quite a Bit of Waste (Depending on the Print)
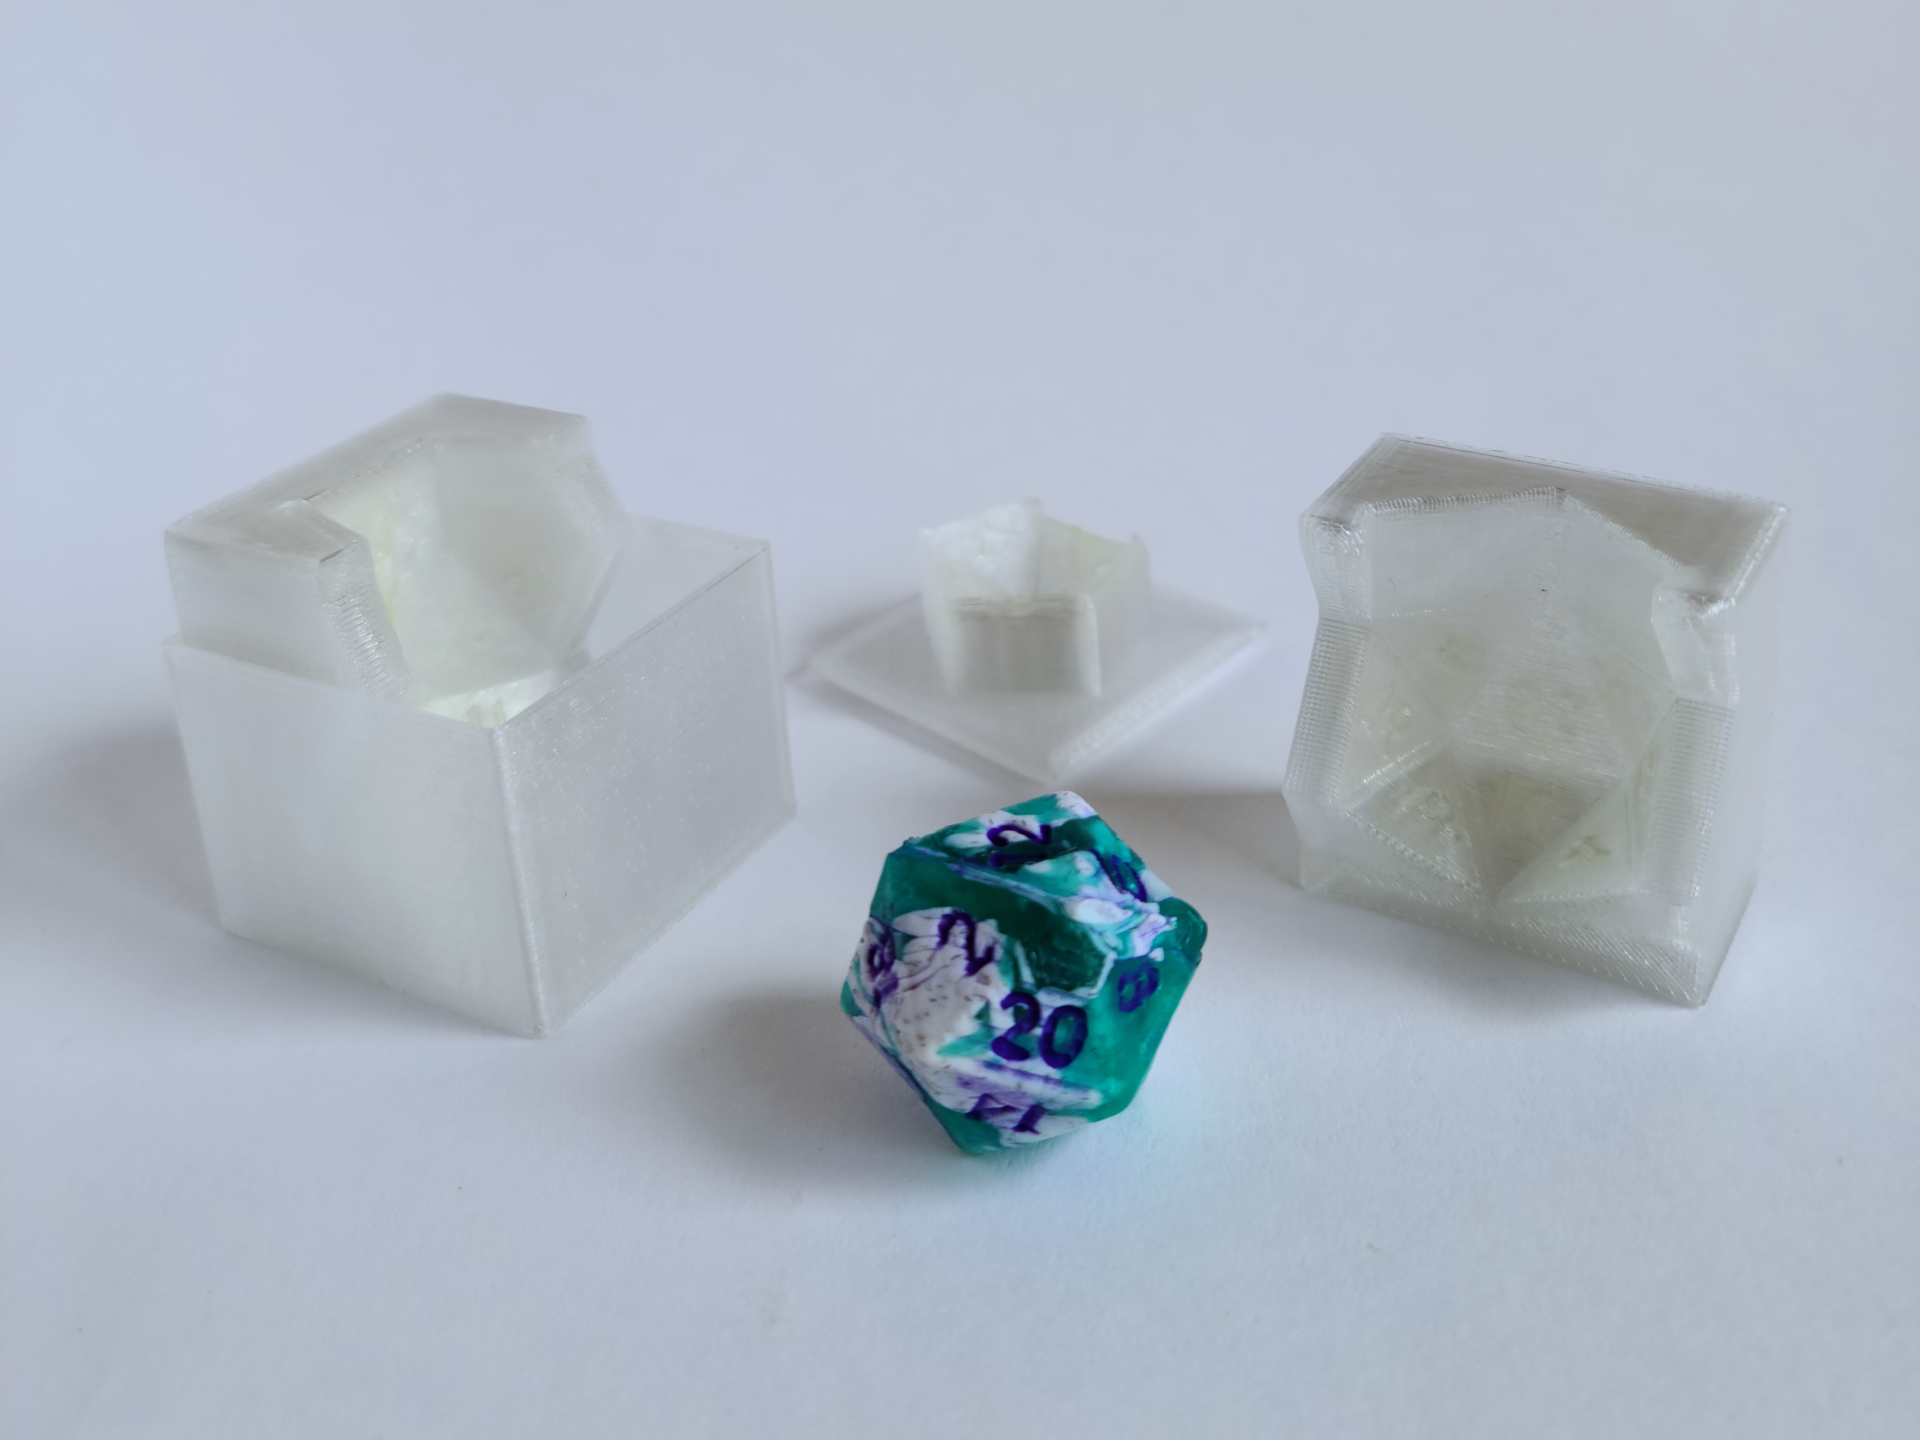
I’ve found a solution for that: the filament scraps generated by supports, color changes, or calibration can be recycled and reused. “Rediced” are D20 dice created by compression molding using leftover material.
WARNING: The following process involves high temperatures that can cause burns. It may also release unhealthy fumes, so this should only be done in well-ventilated areas. Please take appropriate safety precautions. No liability is accepted for injuries or damages!
You will need:
- D20 press mold
- Filament scraps
- Heat gun or oven
- Silicone muffin mold (or another heat-resistant mold)
- Heat-resistant gloves
Important: Print the mold in PETG if you’re using PLA scraps or vice versa.
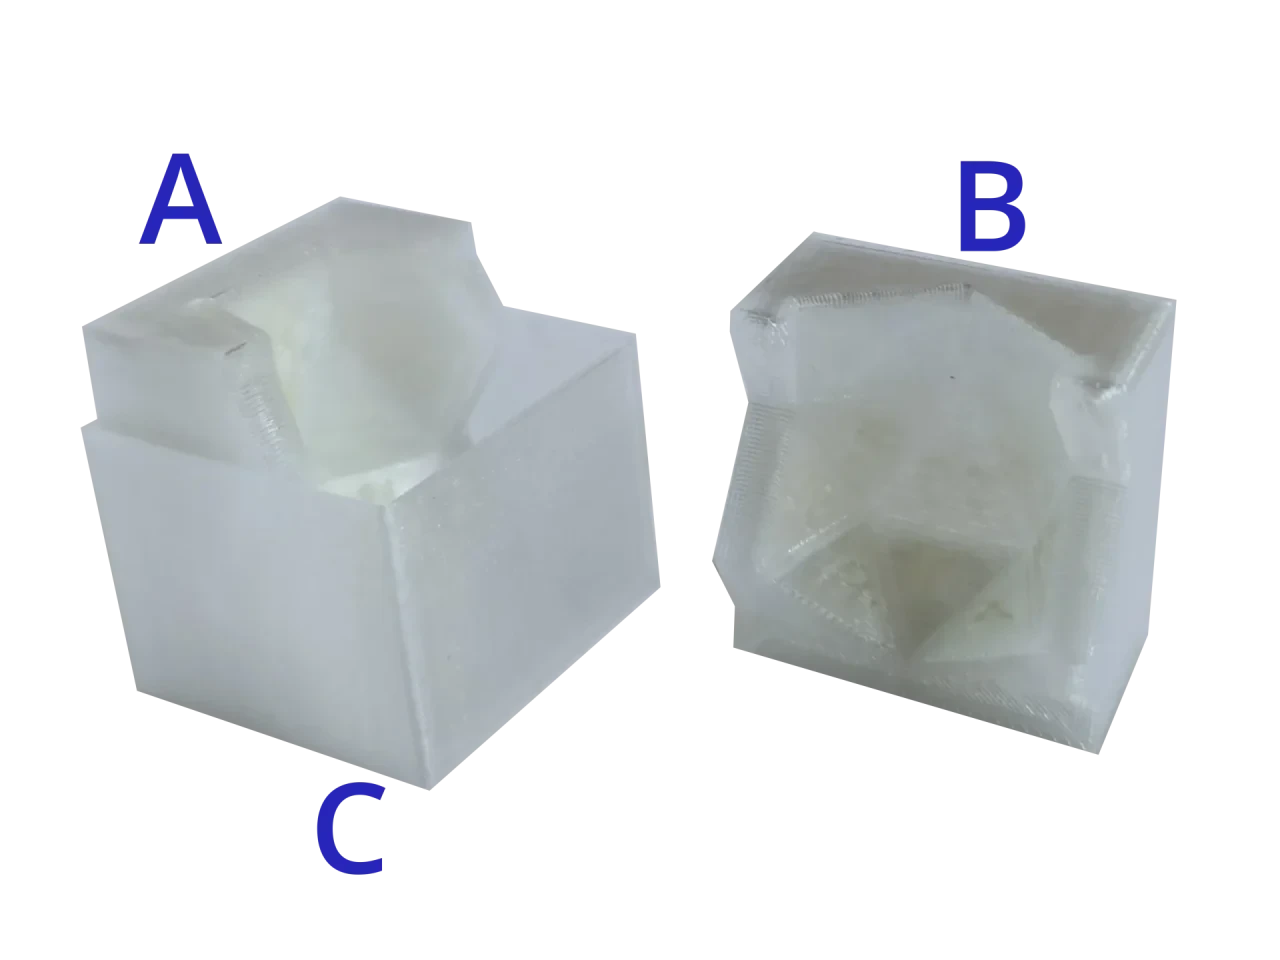
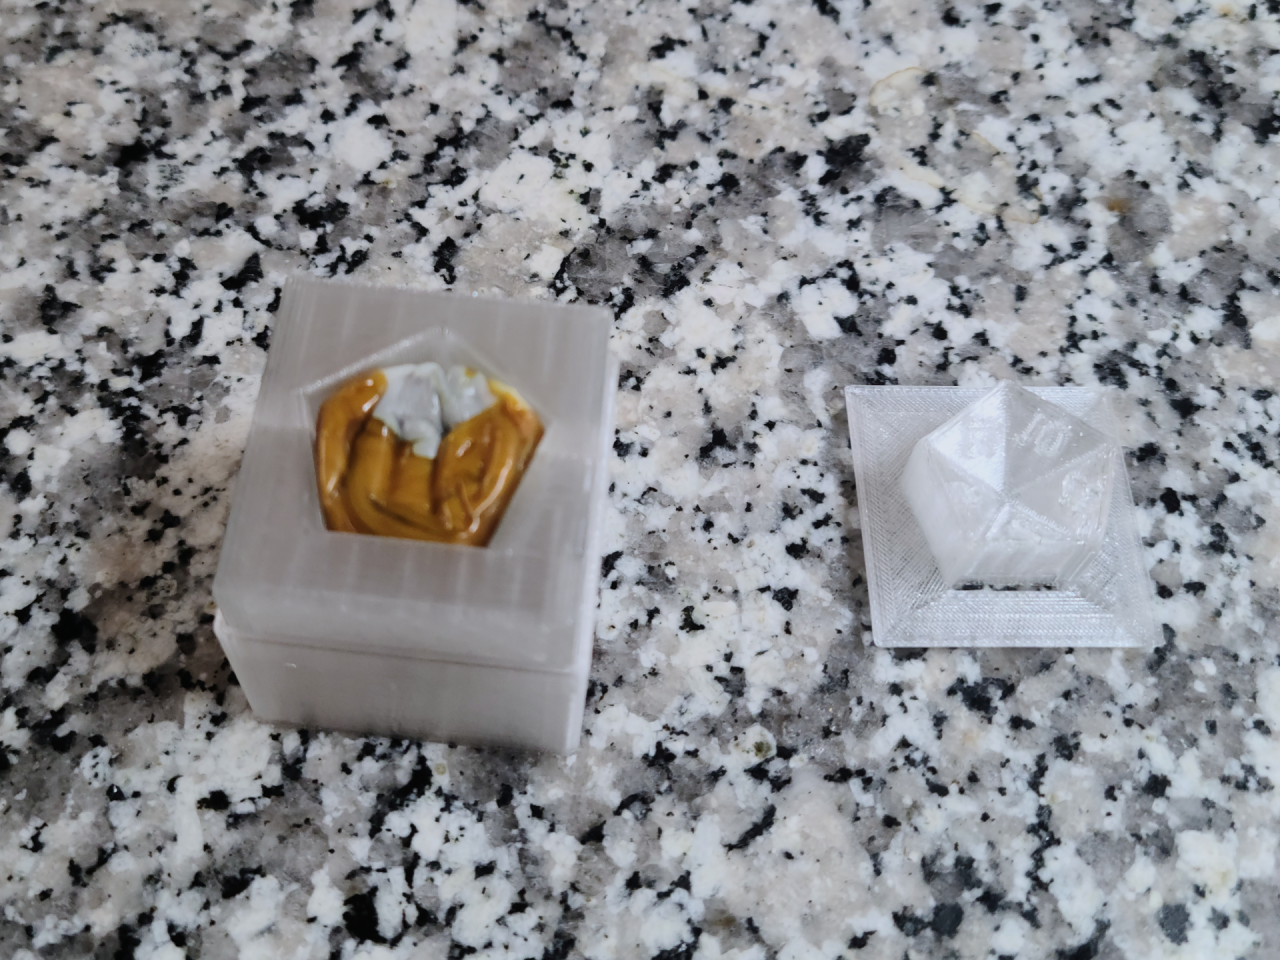
Step 1: Prepare the Press Mold
Before preparing the material, set up the press mold. Align parts A and B so the opening faces upwards. Then insert both parts into part C until they sit firmly (see illustration: A and C together, B in between).
Optionally, you can grease the mold (e.g., with Vaseline) to make it easier to release the dice later.
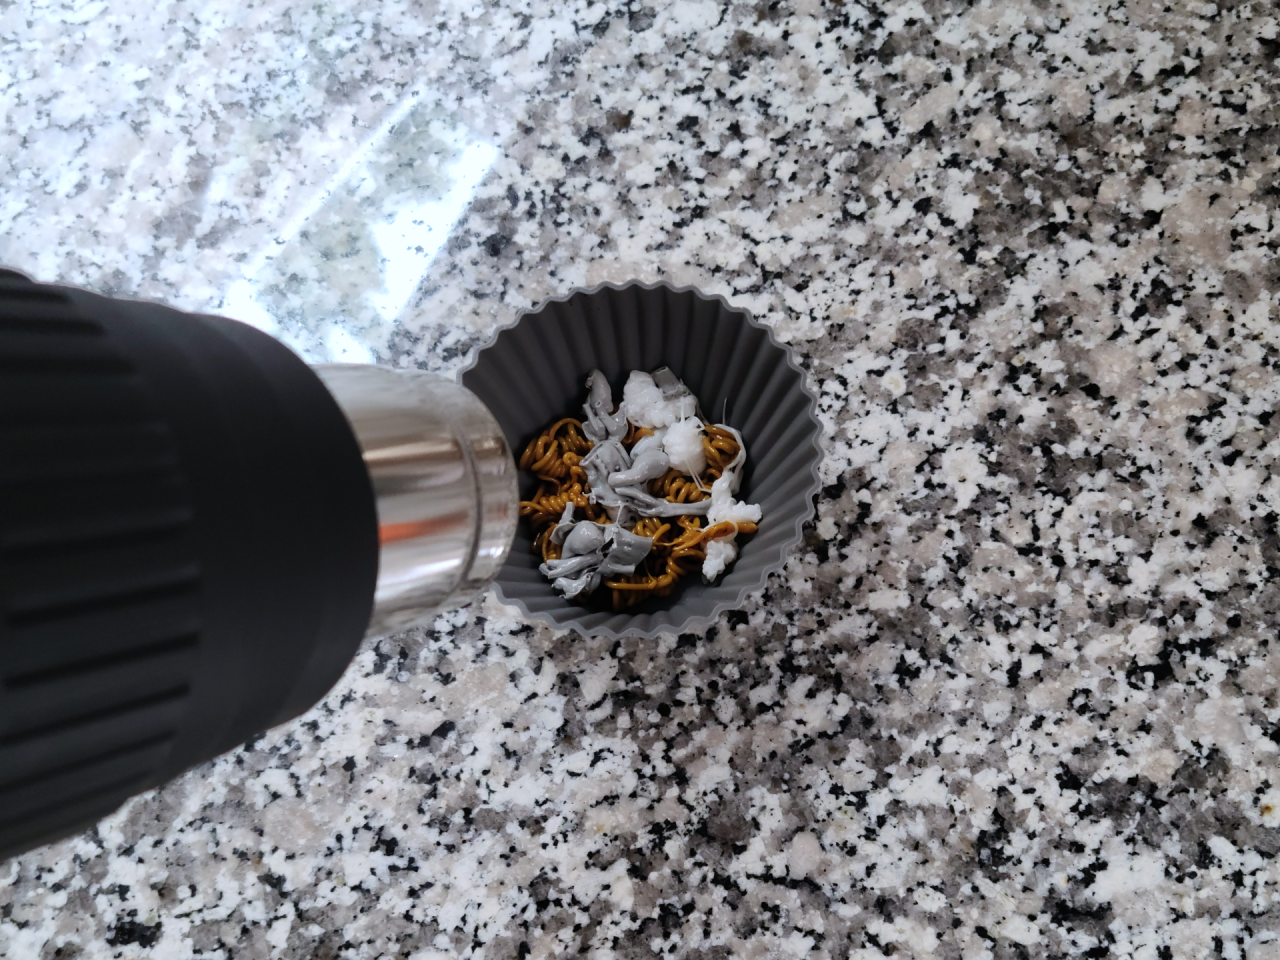
Step 2: Soften the Material
First, choose the colors you want your dice to have. About 6.3 grams of material should fill the mold (this may vary depending on the filament). I sorted my scraps by color – I recommend doing this if you plan to press multiple dice, but it can take some time.

Place your selected scraps into the muffin mold and heat them using a heat gun (or in the oven) until they become soft. Note: The muffin mold will also get hot! If using a heat gun, work on a non-flammable surface.
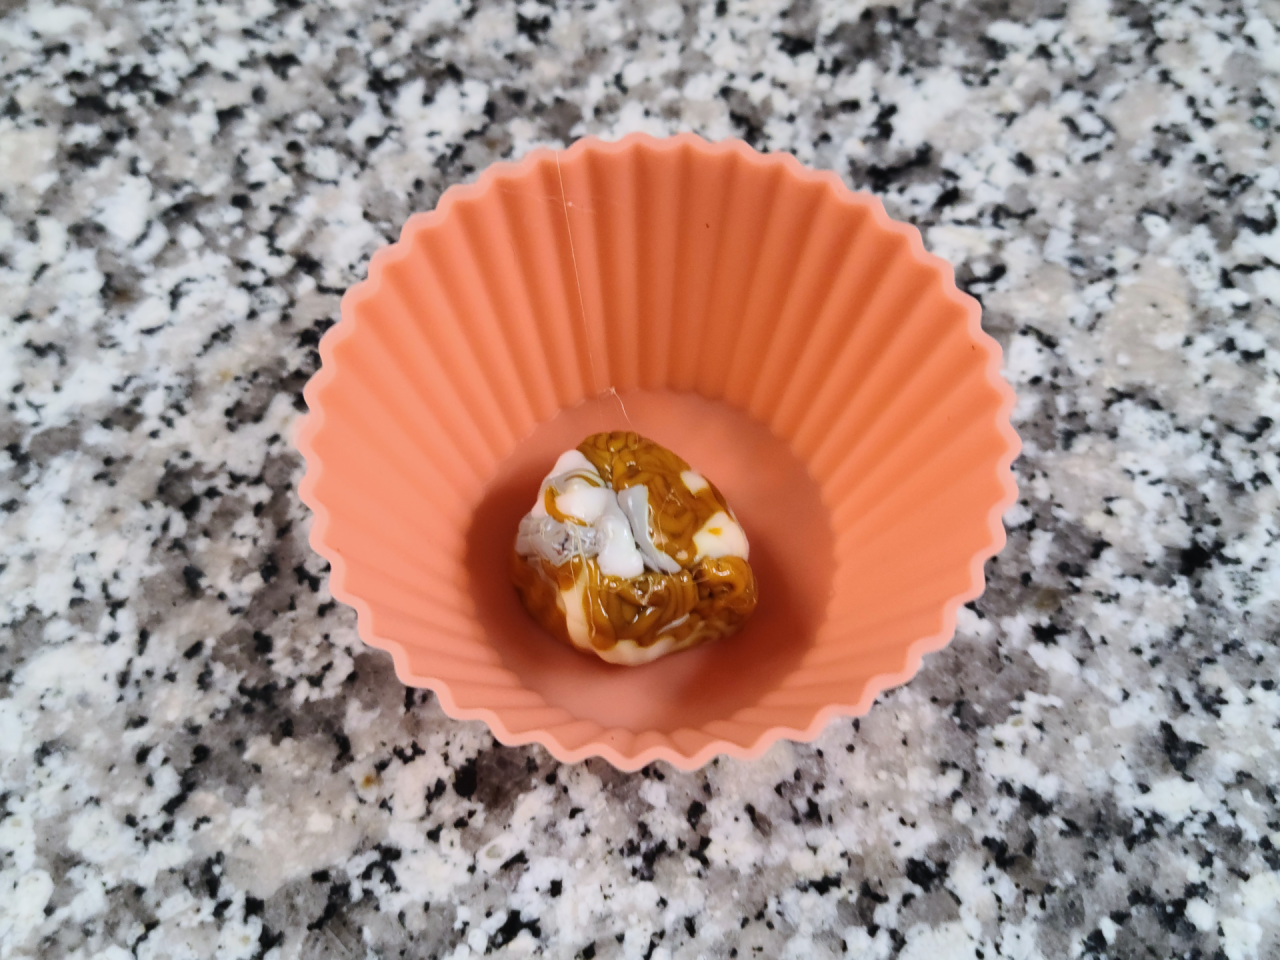
Step 3: Combine the Melted Material
Heat the material only until it is pliable, not fully liquid. Shape the mass so it fits into the press opening. If it hardens again, simply reheat it. Caution: The material and the muffin mold are very hot! Wear gloves to avoid burns.
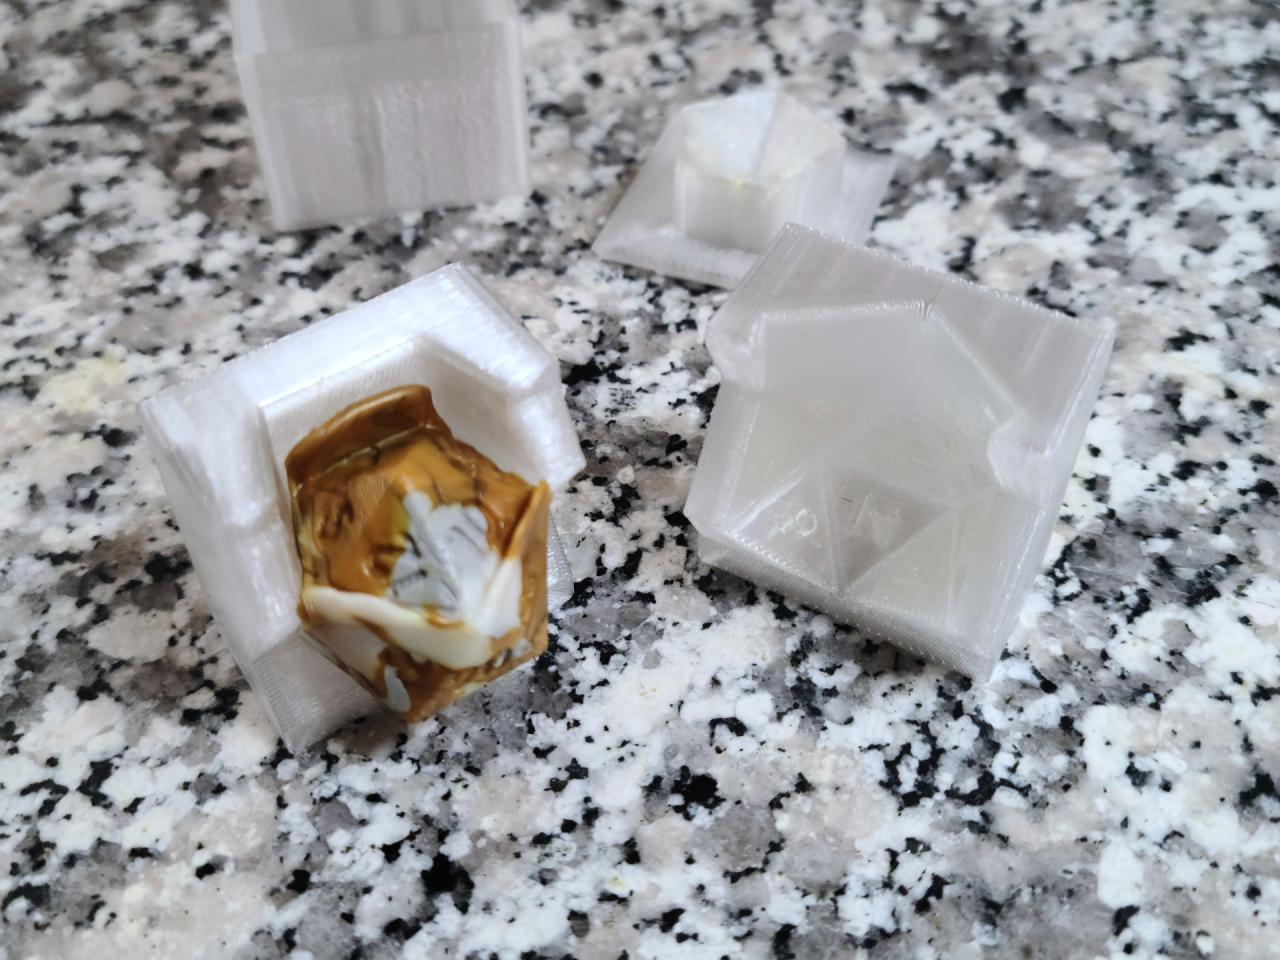
Step 4: Press
Shape the mass so it fits into the top opening of the press. If needed, push it down with your fingers – again, carefully, it’s hot!
Then: press it! Use the “lid” of the press mold to compact the material. Press for a few seconds and then let it cool for 1–2 minutes.
Step 5: Remove the Dice
Once the dice has cooled, open the mold and remove it. I achieved the best results while it was still lukewarm – this made it easier to remove without losing shape.
Trim off any excess material and paint the numbers if you like.
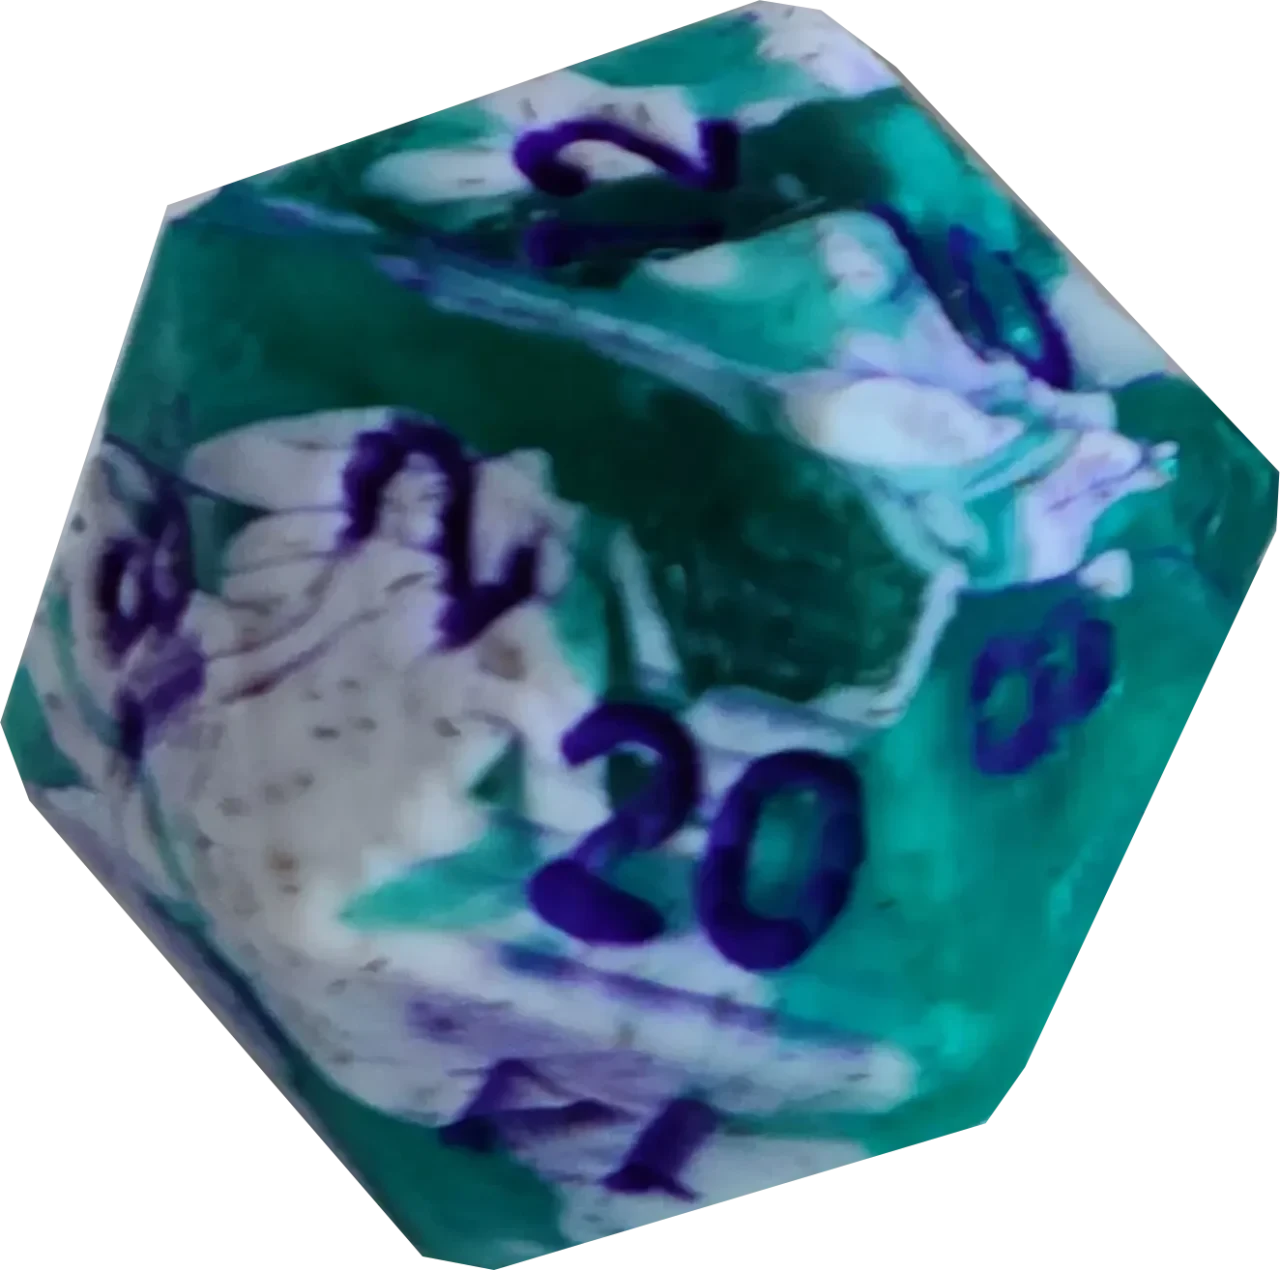
Voilà – your very own “Rediced” die!
Now you’ve created your own Rediced D20, giving new purpose to 3D printing scraps that would otherwise end up in the trash.
Enjoy your new die and have fun making many more!
I hope this post gave you an exciting insight and maybe inspired you with a few new ideas. On the blog, you’ll find more articles about 3D printing, miniatures, and projects – feel free to browse around and discover more!
Until next time, and happy printing!
Mirko